
Lots of fairy fun was had yesterday at the loveliest fairy party for Arrabella's 5th Birthday. Most of the girls were all fairyfied and gorgeous, including little Es dressed up as Tinkerbell, offcourse. The party was lovely and my friend made the most amazing toadstools out of meringue's. Not only were they amazing they tasted yum and the good news was that I could eat them as they were dairy, wheat and soy free, not an often occurence at a birthday party (yeah!!!). The toadstool order is firmly placed for Esme's fairy princess party in less than two months. I have had a quick look for a recipe for the toadstools and here goes:
http://theicedqueen.blogspot.co.uk/2012/01/meringue-toadstools.html

Everyone was pooped when they came back, including Josh who joined Dad for his first 5 mile off road bike ride along the Middlewood Way. Pretty good going for a five year old, and apparently he really enjoyed it. So I seized the moment and we started a project that has been lurking on my todo-list for quite some time now, a Tepee (Tipi, Tepe, or whatever you wanna call it). I have been wanting to make one of these for the kids for years, but have always been put off by the enormity of it, especially the sewing bit. You can imagine my excitement when I recently came across this lovely blog with 'a no sew teepee' tutorial. Here is the link: www.thehandmadehome.net/2013/02/a-no-sew-teepee/ (Always respect the source!).
Well that was it for me, I went to get the wood the next day and started to dig through my stashes of fabric to see what I could use. Then there was the crucial bit: motivating the hubby (as it requires a small amount of drilling, which offcourse I am perfectly capable of doing myself but there is the risk of treading on that delicate male DIY ego thingy). If your hubby is anywhere as DIY averse as mine, you will know that you need some time to plant the seed and then slowly work him up to it. Actually this time he didn't actually require that much buttering-up, so we got started yesterday, and this is where it all began.


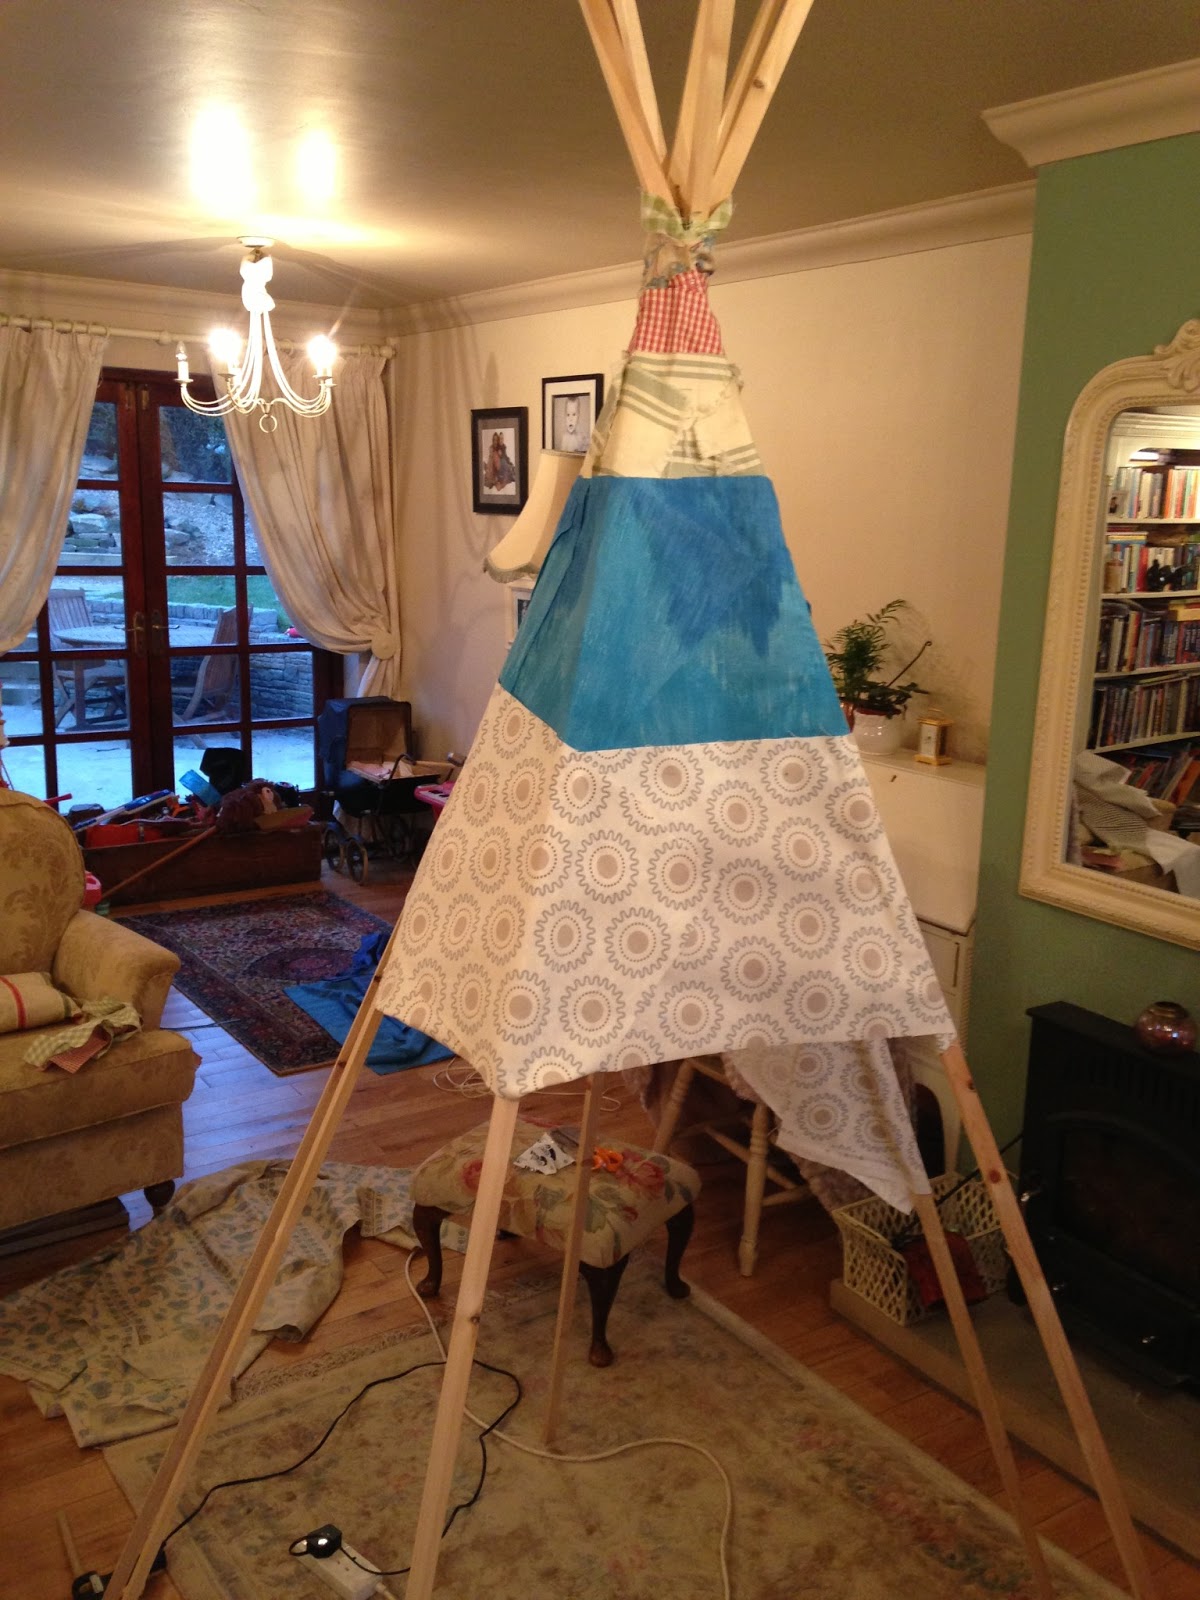
I would definitely recommend doing this somewhere where you have enough space and also where you can be sure that your poles won't move. Because it got chilly we came in and that is where things started to slip (pardon the pun). Once we brought it in, the wood started to slip on the wooden floor and it was difficult to keep in place, which unfortunately did affect that overall shape of the Tepee (BOO!).
This was were the messy part started, I got the hot glue gun plugged in and some fabric ready to rip of cut (whatever you prefer, I did a mix). I then started wrapping some small pieces of fabric around the top and worked my way down.


Now, I knew from the beginning that our tepee would require a door as our kids are obsessed with dens and closing them in and we normally have some dramatic melt down when there is too much light and/or the den doesn't close properly. As for THIS tepee, there will be a door, but I have to confess it is work in progress (as I still have to figure it out). I think it will be a simple snip at the very end and see which side will work best for a doorway.

Oh no!!! So a couple of strips from the end and my glue sticks run out. So here is another tip - YOU WILL NEED A LOT OF GLUE STICKS!!! I went through about 15 and I reckon I am going to require at least another 5. Maybe I am just super heavy on the glue, but better be prepared!

So more glue is what we need and more glue is what we will get to finish our project and there there is still the door-dilemma as Josh and Es has already told me they need more than one door! When I explained that Tepee's only have one door, they kindly pointed out that theirs was a different kinda Tepee and it sure is (especially if you look too closely)! It certainly has been fun if you discount the hot-gluegun-blisters thrown in for good measure!
No comments:
Post a Comment