Showing posts with label Tutorials. Show all posts

Monday, 16 December 2013

How to make a Christmas wreath

Every year I forage in the garden and send the doh and kids on a little adventure to bring Mamma some lovely green and Christmassy bits for a wreath. This year there was no shortage of wonderful holly with an abundance of red berries.


So to get started I used some fresh moss that I got from our local garden centre, lay it on top of the metal ring, if you don't have a ring you can just make one out of metal wire.


I used metal sticks to keep the moss in place, you can also use garden wire or string.


Once it is all secure, you can start to add your chosen foliage. I am fortunate that we have quite a few Leylandii trees in our garden, so I usually snip a few of their branches for the base


and then start adding some holly and whatever else you can get your mitts on.

 
Tie it all together using either garden wire or string and
 

voila you have one Christmas wreath.

 
For anyone in warmer climates, some roses or hydrangeas also make a beautiful Christmas wreath.


Here are two sweet pictures I picked up at the Church fair for 50p each.  


We managed to grab some time to indulge in the brilliant Elf, our first Christmas flick of the year, whilst enjoying some warm mince pies. It sure feels like the festive season is in full swing and I am already planning the next flick, oh too many wonderful choices... What is your favourite Christmas movie(s)??


I do hope that you all had a wonderful weekend. I will be back shortly with a recipe for lavender salt scrub.
 
Warm Wishes
Hannapat
xoxo

Sunday, 1 September 2013

A quick Mint Wreath Tutorial

Now that all the lovely mint in our garden is in flower, I thought I would share a quick and easy to make mint wreath with you. I made two of these yesterday, one for our front door and one to hang inside the house and the aroma is simply wonderful.


It is such a simple little project, yet it looks gorgeous and smells wonderful too. For any of you not in possession of an old ring,you can just use some wire, like I did when I made Lavender wreath. Fortunately, or unfortunately for us, our old barrel planter broke yesterday, so I now am the proud owner of three metal rings and a handle (you never know when you might need to get a handle on things?!). So what better way to use it than to make some wreaths.


So here goes:

1. If you don't have a metal ring, then make some out of wire by shaping it into the shape of ring and getting at least four-five rounds, so the ring-base is solid (you can refer to the picture a the bottom of this post.
2. Cut some mint when it is in flower and make sure to cut them quite long.

 
3. Wind the mint around the ring, weaving it under and over the ring and keep doing it until you have a substantial amount of mint on the  ring and you are happy with the fullness of your wreath.
4. Now use your string to secure it in at least two to three places.


Once you have done this your wreath should look something like this and then you are ready to hang it.


Then I made another for inside the house as they smell so wonderful.


Happy Monday to all you lovely people. 
 
Warm wishes
Hannapat
xoxo

Wednesday, 7 August 2013

How to make your own fabric labels

A few months ago I was determined to find a way of doing my own labels, but found it quite difficult to find any tutorial on this. The thing that I found the hardest was dealing with the printer and that might very well just be me and my lack of technical knowledge. I always thought I was pretty savvy on a computer back in the day when I had a proper job, but these days I find myself constantly singing the lyrics 'my computer think I am gay grey', and soon I might also feel like throwing this 'piece of junk away' from Placebo's new song 'Too many friends' .  No disrespect here to any older bloggers and readers, but whenever I am faced with technical difficulties, i.e. struggles with my computer, I always feel like I should be well over a hundred. It's that thing where your kids, aged 6 and 4 starts knowing more than you and boy does that make you feel old or what?? Anyways, it took me a couple of attempts to figure out how to print these labels, so I figured a little tutorial might be helpful to a few folk out there interested in making their own fabric labels.


So here goes.

What you are going to need.

1. A pack of transfer paper, which I bought here.
2. Some ribbon and or tape of your choice
3. Computer
4. Inkjet printer and not Lazerjet
5. Iron and ironing board or mat
6. Cup of tea and some chocolate (in my case Lindt 70%)


Step 1
Design your label on either word, excel or whatever programme you wish to use. I just wanted something simple, so I used word, but you can add an image or tweak this to whatever you want.


Step 2
Once you are happy with the colour, font and everything else, it's time to print it. Make sure you do a test run on normal paper and not transfer paper as it's pretty expensive stuff. Select print and then click on 'Printer Properties'


Once you have done this you will see there is something along the lines of 'Basic, Advanced and Support' as options, select 'Advanced.

 
Once you have chosen 'Advanced' then you should see 'Mirror Printing' or something similar as an option. Select 'Mirror Printing'.


You are almost there now, all you need to do now is have a sip of tea and press the 'Print' button and voila. Remember to try your first one on normal paper just to check that the mirror image printing has worked.


This is what you should have in front of you now. Once you are happy with everything, repeat the process again, but this time using the transfer paper.
 
 
Step 3
Now you need to cut your labels so that you can lay them on to your chosen ribbon or tape. Once you have cut the labels, I put mine all in a bowl so they are to hand and easy to grab, you can lay one or two labels at a time on to your ribbon and then put your iron on it for a good 30 seconds if not a little more. It will be easy to see when the glue has taken as the label will be completely attached to the ribbon or tape. I spaced mine out so there is enough space in between, baring in mind that you want to cut it and sew it in/on to the desired product.


Step 4
It's important to give it some time to dry before you start peeling off the back of the labels. This is the exciting bit to see how it all turned out. Slowly remove the back of each label and hey presto you should have all your labels on a ribbon or tape, ready for you to cut up and use.


Step 5
Lastly I just rolled all my labels on to some old cotton reels, ready to be used. I have used these on many different things that I have made and they look lovely.


Step 6
Make another cup of tea and feel chuffed that you have managed to make your own labels.
 
 
I hope you have found the tutorial easy to follow, please give me some feedback as I am new to this whole tutorial malarkey and would welcome any feedback.
 
Wishing you all a very happy day.
 
Warm wishes
Hannapat
xoxo


Sunday, 31 March 2013

Quick sew Kindle Case Tutorial


Easter weekend is flying by and it suddenly dawned on me yesterday that I need a little cosy for my kindle whilst on hols. So as mentioned yesterday, I want to share this quick and easy kindle case with you. I don't know about you, but I find tutorials incredibly useful and the more pictures and description the better for me. So hopefully this works for you.

So here is what you are going to need:
Two different materials, one for the outside and one for the lining
Sewing Machine or you can sew it by hand if you like
A button
A small piece of yarn of your choice
A crochet hook, any size between a 4mm and 6mm will do (I used a 4mm)
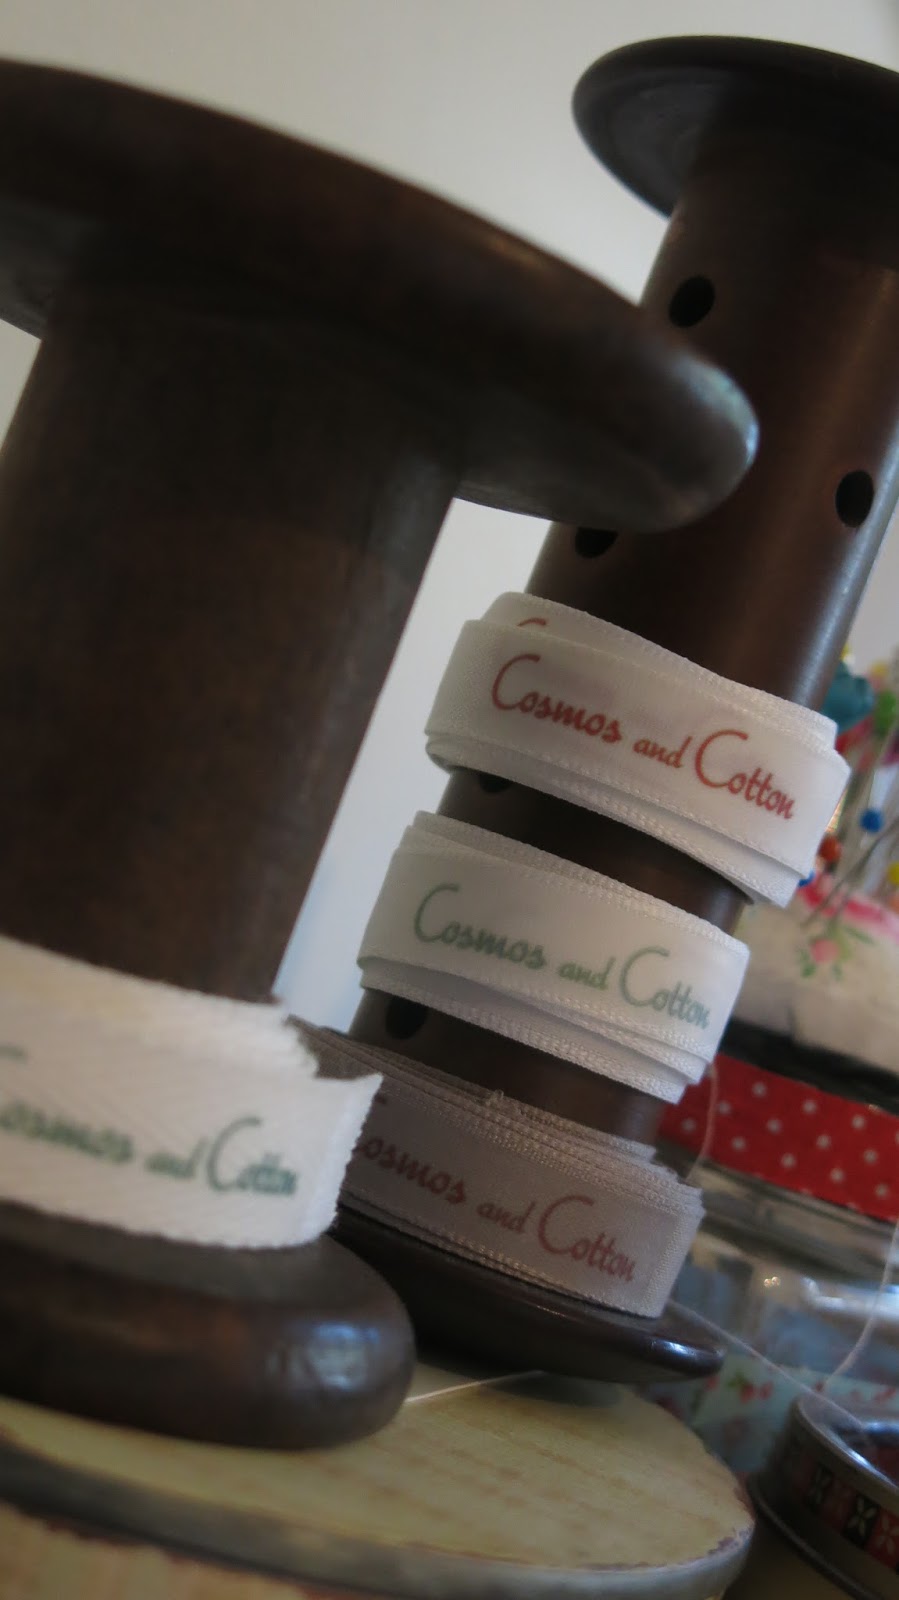
Some pretty ribbon or alternative fabric
Small piece of crocheted lace
Cotton

Now to make it
1. To start cut your four pieces of fabric, if you double fold your fabric you only need to cut twice. The measurements I used were 9 inches x 6.5 inches. I used a lovely thick grey felt and beautiful soft velvet for the lining.


2. Now you want attach the ribbon and/or lace that's  if you want to attach any. I used two strips of Cath Kidston ribbon on one side and some Cath Kidston ribbon and lace on the other side. It's also a good time to attach the button, to save flaffing with it later.


Once you have attached the ribbon and/or lace, cut off any excess. 


So this is what it should look like once you have attached all your bits. You should have your four pieces of fabric which we are going to join up next.


3. Now you want to sew each little bag, so to speak. First do the outside bag, so in my case the grey felt. Put right sides together and sew the bottom and both sides, leaving the top open. I did half and inch on all the seams.

4. Now do the lining and this is where it can become a little confusing. You want to leave an opening (no seam) of about a minimum of 3 inches at the bottom like this. So sew from one side double back, leave 3 inches and sew the rest, again make sure to double back on all your seams.


5. So now you should have two bags sewn together, apart from the little gap at the bottom of your lining bag. Turn them out like this (again Blogger is having its own mind with these pictures being upside down, sorry)


6. Now you want to do a little crocheting and if you don't crochet, this is pretty easy, but you can also just use a piece of thin ribbon or some elastic if you prefer to skip the crochet bit. I have tried to do a video on how to do a crochet double chain stitch, but as my kids keep interrupting (don't you just love that?!) I started looking for a video on how to and here goes.

Here is the diagram that I used.


Basically what you do is start with a slip knot, then chain two, then do a double crochet (UK) or single crochet (US) into the second chain from the hook. The way you do this is by putting your hook through the left part of the second v (each chain looks like a v if you look closely) from your hook, wrap the yarn around your hook and then pull it through both loops on your hook. Continue to do this all the way until you have the desired length. Mine was about 2.5 inches.


7. We are almost there. All we have to do now is to put the two bags together, make sure to include the little loop and then you're done. So for me doing a lined bag without any visible stitching required some oil for the old cogs, so hopefully this is straight forward enough for you.

Keep your outer bag with right sides out as in the picture in 5. and turn your inside lining bag wrong side out. Then put your outside bag (felt) into the inside bag (velvet) like this. So your fabrics should now be right sides facing.


8. Adding the loop. Once you have them snuggly fitted together line up your opening and edges. Now add your loop and pin it securely on the opposite side to your button so be sure to check it is on the right side (an easy mistake to make that will require a lot of unpicking).


9. Pin all around to make sure it stays perfectly in place.


10. Now you want to sew it all firmly in place.


11. Once it's all sewn pull the inside bag through the little gap that you left


and keep pulling it all out very gently until it looks like this


12. Almost there all you need to do now is close that little gap by sewing it by hand


13. You little kindle case is now complete.


Hopefully this was pretty painless and your kindle has now got a new cosy corner to rest in. As a newbie to this world of blogging and tutorials, I would really appreciate your feedback and comments. Do let me know how you got on and do share your experiences and photo's of making your kindle cases.

To kindle or not to kindle that is the question?! I sit on the fence here, even as a kindle user I still can't part with my books, so I use both. I love the smell and touch of books and their oodles of character. I also love the charm of beautiful and old books around the house, so I don't think I will be completely kindleminded (couldn't resist). It funny, but for me one of the first things I look at when I go into other people's homes are what books they have on display, I think it says so much about a person, what do you think? In fact I haven't picked up my kindle this year, but I know it will come in handy whilst on holiday, saves having to take two books as I am currently half way through Suffragette Girl, which I already once this month abandoned for another book, so I now WANT to finish it. One thing I noticed is that I read faster using a kindle, possible because of the increase font size. Old age is slowly creeping in and gone are the days of Twenty Twenty vision, there is certainly alot more squinting going on, heehee. What are your experiences with using a Kindle?

So are you a kindle user or do you still use good old fashioned books?

Hannapat